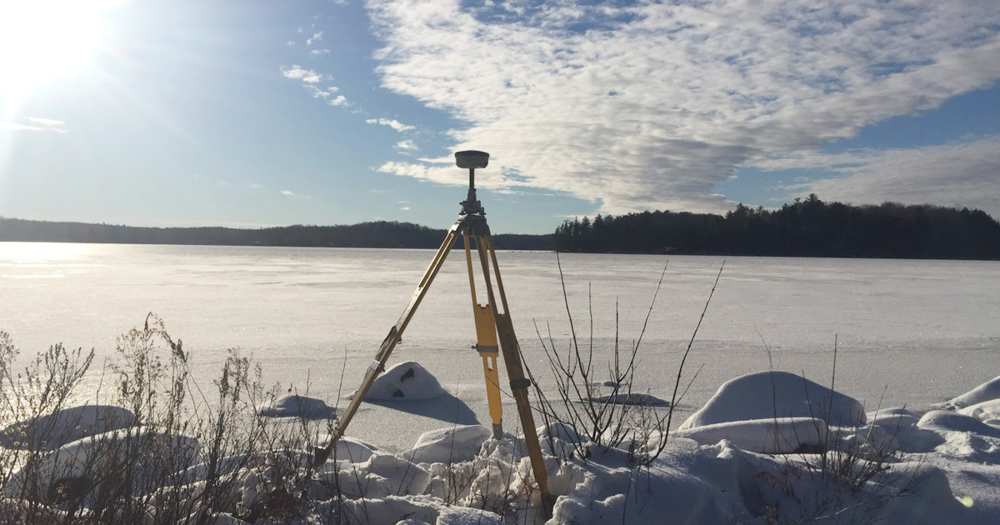
Whether you're a seasoned surveyor or new to the field, understanding how to properly set up your survey tripod is fundamental for ensuring precise measurements. Surveying is not just about the right tools – it's about using them correctly.
At the heart of this precision toolset is the survey tripod – a cornerstone of stability in the surveying process.
Choosing the Right Tripod
Choosing the right land surveying tripod is crucial for accurate and efficient measurements.
Tips for selecting the right tripod
When choosing a survey tripod, you need to consider the environment you’ll be working in, the weight of your equipment, and whether or not your instrument is
servo-driven, manual, or stationary (like a GPS base station).
Here are
some tips to help you choose a tripod that suits your specific needs:
- Compatibility: Ensure that the survey tripod is compatible with your device. Check the specifications and requirements of your equipment before making a purchase.
- Weather: Manufacturers have created specific materials for tripods depending on the climate. For instance, a wood/fiberglass tripod is subject to swelling of the wooden dowels when the humidity is high. Fiberglass tripods are victims of heat and cold. The legs will expand and contract during the day's temperature change, which may cause your instrument to come "out of level."
- Materials: Most survey-grade tripods are made of a composite material that withstands the daily temperature change, and takes into consideration the weight and torque of today's robotic total stations. Aluminum tripods are not suitable for survey instruments (unless they’re lightweight). You will find them used more under a rotating laser, automatic level, or a theodolite.
- Attachments: Make sure the tripod has the necessary attachments to securely hold your surveying equipment. Consider the weight and dimensions of your device when selecting a tripod.
- Condition: Before attaching your device, ensure that the survey tripod is clean and in good working condition. Pay attention to the screws and bolts and are properly adjusted for stability.
Modern features to consider
Modern land surveying tripods often come with convenient features that can enhance your surveying tasks. Here are a few to consider:
- Quick-release levers: These levers allow for easy and quick attachment and detachment of your surveying equipment.
- Adjustable leg angles: Surveying tripods with adjustable leg angles are beneficial when working on uneven terrain. You can adjust the legs individually to achieve maximum stability and accuracy.
- Lightweight materials: Lightweight options like aluminum survey tripods balance lightweight portability and durability, making them suitable for various applications.
Initial Setup of Your Survey Tripod
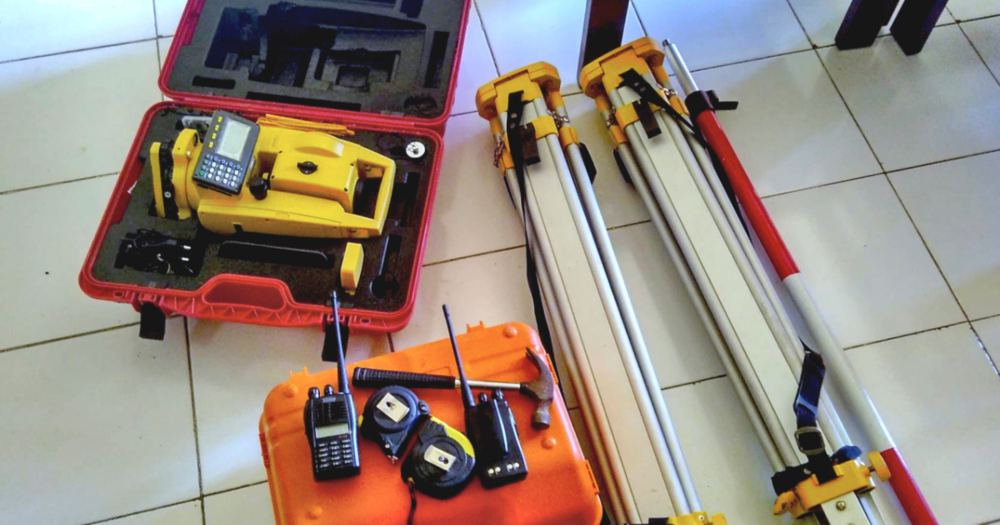
When you start using your survey tripod, it's crucial to ensure a stable and level setup. Follow these steps to properly set up your tripod for accurate measurements:
Choosing a stable and level ground
The first step to an accurate survey is choosing a level and stable spot to set up your tripod.
As much as possible, avoid uneven ground or areas with obstacles that could affect the stability of your tripod or interfere with your measurements.
Extending the tripod legs
- Start by unlocking all three of the leg clamps on your tripod. You can do this by twisting the knobs in a counterclockwise direction, or simply lifting the quick-release handles.
- Next, extend each leg to the height you need. A good rule of thumb is to adjust the tripod so it's about neck or chin level. This makes it more comfortable to use with your instrument on top.
- Make sure to extend and lock 2 legs evenly to maintain balance and stability as you use the third leg to position the tripod head as close to level as possible.
Securing the tripod legs
- Once you've adjusted the legs to the right height, secure them in place by tightening the leg clamps. Twist them clockwise until they're firmly locked. This stops the legs from moving or collapsing while using the surveying tripod.
- Check that the legs are secure by giving each one a slight tug. They should stay in place if they're properly locked.
Spreading out the tripod legs evenly
- To ensure equal weight distribution, spread the legs apart so that they form a stable base.
- Stand behind the tripod and check whether the legs are spread out evenly. If they aren't, adjust the angles of the legs until they are.
For more detailed instructions on setting up specific types of survey equipment tripods or for any product-specific guidelines, refer to the manufacturer's instructions provided with your equipment.
Mounting the Tribrach and Surveying Equipment
A crucial step in setting up your surveying equipment is properly mounting and leveling the tribrach and attaching the surveying instrument to the tripod. Done right, this will ensure your equipment is level and your measurements are accurate.
Here's how to do it:
Attaching the tribrach to the tripod
- Position the tribrach on top of the survey tripod head. The center hole of the tribrach should align with the mounting screw on the tripod head.
- Rotate the tripod’s mounting screw clockwise until it is securely fastened onto the tripod head.
- Double-check that the tribrach is loosely attached to the surveying tripod. Now you are ready to center your tribrach over your point.
Centering the tribrach using the optical plummet
- Look through the eyepiece of the tribrach's optical plummet.
- Center the bullseye or crosshair over the center point of your point and tighten the tripod mounting screw to ensure you don’t come off the point as you level the tribrach.
- Adjust the leveling screws on the tribrach until the bubble is centered in the circle of the tribrach’s bubble vial. This will indicate that the tribrach is level.
- Double-check the optical plummet to make sure you are still over your point.
Not all tribrachs come with an optical plummet for centering. For example, the
SECO tribrach (without an optical plummet) for surveying tripods features three screw leveling and is designed to be used with instruments that have an optical plummet or GPS base stations.
Check your tribrach’s manufacturer's instructions to understand the optimal way to center your equipment.
Attaching the surveying equipment
- Place the instrument on the head of the tripod and insert the mounting screw into the bottom of the instrument, then tighten it down.
- Align the base plate of the surveying equipment (such as a theodolite or total station) with the point on the ground that will be visible in the optical plummet of the instrument.
- Securely fasten the surveying instrument onto the tripod by tightening the mounting screw.
- Give the equipment a gentle shake to confirm that it is securely attached to the survey tripod and won't move during operation.
Fine Tuning the Leveling
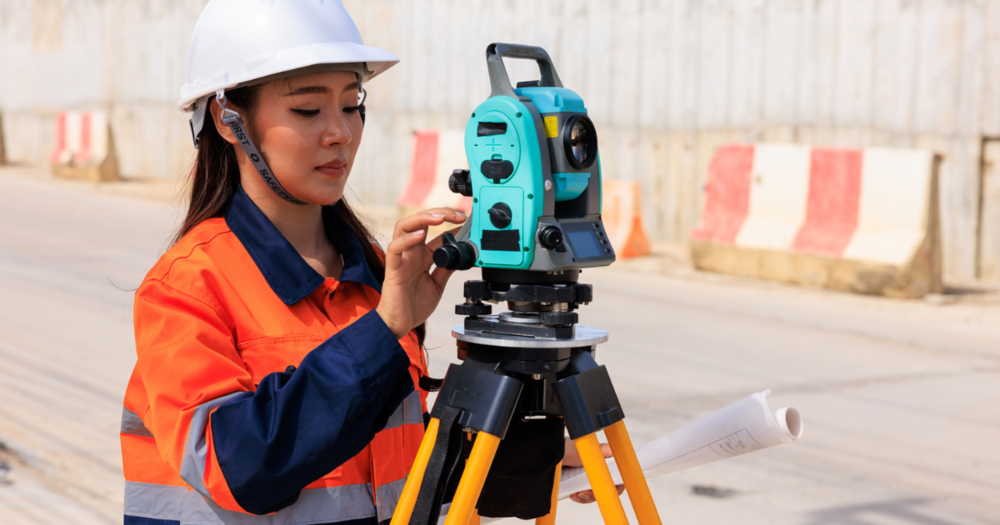
Once you have mounted your surveying equipment onto the tripod, it's important to fine-tune the leveling for accurate measurements.
Here are the steps to achieve precise leveling:
Using built-in bubble levels or electronic leveling devices
- Check if your surveying equipment has built-in bubble levels or electronic leveling devices. These features help ensure accurate leveling.
- Refer to the manufacturer's instructions on how to use the bubble levels or electronic leveling devices specific to your equipment.
- Adjust the leveling screws or controls as indicated by the built-in bubble levels or electronic leveling devices until they indicate a level position.
Alternating between the optical plummet and level bubble
- Use the optical plummet to initially center the tribrach by following the steps mentioned earlier in this guide.
- After centering with the optical plummet, also check the level bubble on your surveying instrument to confirm its levelness.
- Make adjustments to the leveling screws on the tripod or the leveling controls on the surveying instrument to achieve a perfectly level position.
For more information on levels and leveling instruments in surveying,
read our guide.
Final Adjustments and Calibrations

To ensure accurate readings and reliable surveying results, it's important to recheck all of your adjustments before beginning your survey.
Calibration of modern surveying instruments
Some
modern surveying instruments may require occasional calibration to maintain accurate readings. Refer to the manufacturer's instructions for specific guidance on the calibration process and recommended timeline.
- The calibration process generally involves setting the instrument to a known reference point and adjusting the instrument's settings until it accurately reads this point.
- Regularly perform calibration checks as specified by the manufacturer to maintain the accuracy of your instrument.
Read
How to Calibrate Your Land Surveying Equipment for Optimal Accuracy for further information.
Importance of rechecking the level
If the instrument is moved or bumped, it will most likely cause it to become unlevel or off-center. Therefore, rechecking for level after the instrument is bumped or has moved is crucial.
Use the bubble levels or electronic leveling devices and the optical plummet to confirm that the instrument is level and centered. Make any necessary adjustments to ensure accurate readings.
By making these final adjustments and calibrations, you can ensure that your surveying instrument is ready for use and will provide precise and reliable measurements.
Ensuring Precision in Every Measure

Ultimately, each step in setting up and leveling your survey tripod contributes to the integrity and reliability of your survey results. By following these guidelines, you're not just setting up equipment; you're laying the groundwork for precision in every measure.
This is the commitment we share at
Baseline Equipment Company, where we understand that in the meticulous world of surveying, every detail counts, and every measurement is a testament to your surveying skills.
Master the setup of your survey tripod with our step-by-step guide, ensuring precise measurements every time. Ideal for both seasoned surveyors and newcomers.


